reCAPTCHA v3
Google reCAPTCHA is a security service provided by Google that helps protect websites and online platforms from automated spam, abuse, and malicious activities. reCAPTCHA offers two versions: clickable reCAPTCHA (v2) and invisible reCAPTCHA (v3), both of which we fully support.
reCAPTCHA v3 operates in the background without requiring any user interaction. It assigns a risk score to each user based on their behavior patterns and provides website administrators with an assessment of the likelihood that the user is a bot.
To integrate Google reCAPTCHA v3 into your form endpoint, follow these steps:
Setting up reCAPTCHA v3
Step 1 - Get API Keys
To begin, obtain an API key from the Google reCAPTCHA console by clicking here (opens in a new tab). You will need to log in using your Google Account credentials.
Once you have logged in to the Google reCAPTCHA Console, proceed by creating a new site. Choose the reCAPTCHA v3 option and proceed to add the domains associated with your website.

Afer adding your website and clicking the "Submit" button, Google will create API Keys for you.
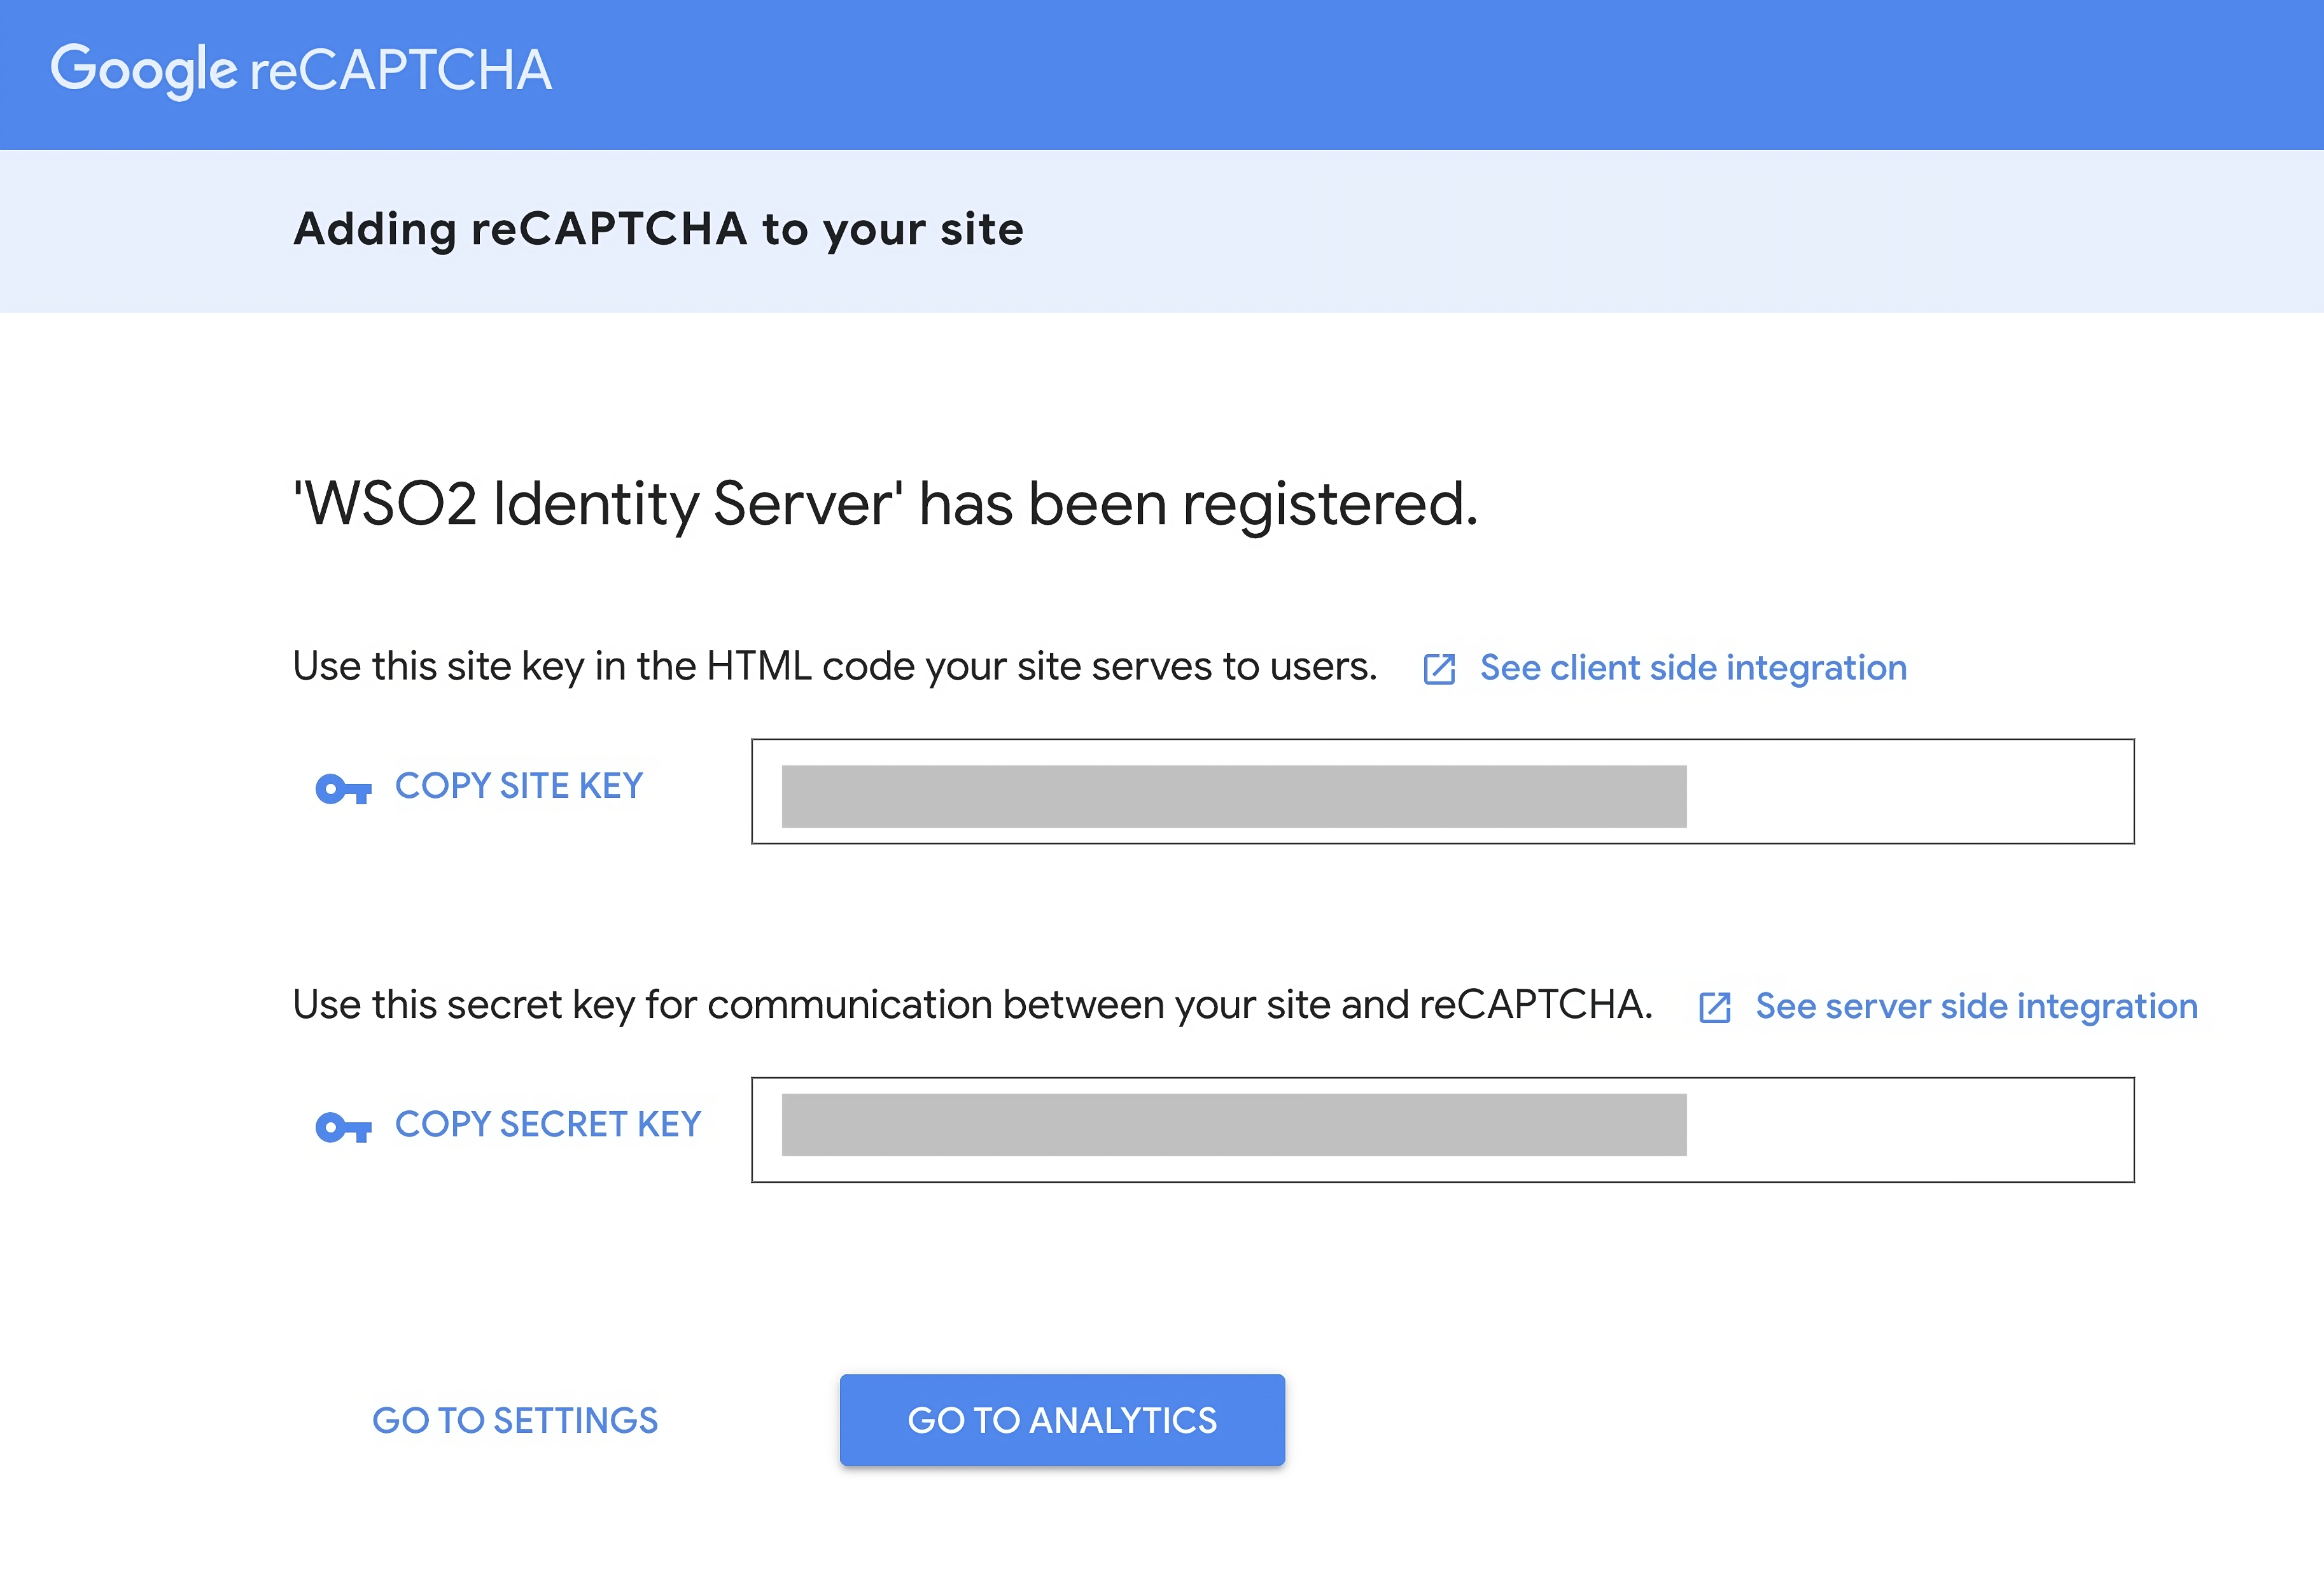
There are 2 keys generated for you Site Key and Secret Key. The Site key will be added in the form.
Step 2- Add reCAPTCHA Library
Add reCAPTCHA library into your <head/> tags.
<script src="https://www.google.com/recaptcha/api.js?render=reCAPTCHA_site_key"></script>Step 3 - Add Hidden Element
Add hidden reCAPTCHA <input/> into your form.
<input type="hidden" id="captchaResponse" name="g-reCAPTCHA-response" />Step 4 - Insert Token to our Hidden Element
Insert the following code snippet between the <script/> tags. The grecaptcha.ready() function will initiate a request to Google, which will generate a token. This token needs to be sent to your back-end for verification to determine if it corresponds to a legitimate user or potential spam.
<script>
   grecaptcha.ready(function() {
       grecaptcha.execute('YOUR_SITE_KEY', {action: 'homepage'})
       .then(function(token) {
         document.getElementById('captchaResponse').value = token;
       });
     });
</script>
Example
<html lang="en">
  <head>
    <title>FormZillion -reCAPTCHA v3 Spam Protection</title>
    <script src="https://www.google.com/recaptcha/api.js?render=reCAPTCHA_site_key"></script>
  </head>
  <body>
    <form action="http://app.formzillion.com/f/{form_id}" method="post">
      <label for="name">Name</label>
      <input type="text" id="name" name="name" placeholder="Name" />
      <label for="email">Email</label>
      <input type="email" id="email" name="email" placeholder="Email" />
      <label for="message">Message</label>
      <textarea id="message" name="message" placeholder="Message"></textarea>
      <input type="hidden" id="captchaResponse" name="g-recaptcha-response">
      <button type="submit" id="submit-btn" >Send</button>
      <script>
        grecaptcha.ready(function() {
            grecaptcha.execute('YOUR_SITE_KEY', {action: 'homepage'})
            .then(function(token) {
              document.getElementById('captchaResponse').value = token;
            });
          });
      </script>
    </form>
  </body>
</html>
Step 5 - Setup Spam Protection for your Form
In order to add your Secret Key follow the below steps:
- Login to your Formzillion App (opens in a new tab).
- Select your particular form to which the spam protection need to be enabled.
- Navigate to form's settings, select Spam Filtering in the sidebar. Select the Google reCAPTCHA v3 from the dropdown and add a secret key.
- Paste the secret key into the Google reCAPTCHA v3 secret key field.
Your form is now protected by reCAPTCHA.
To stop using reCAPTCHA, change your Spam Protection to none.
Info: reCAPTCHA-v3 is available on Standard, Premium and Agency plans. (opens in a new tab)